HOW TO
Stretch a Screen
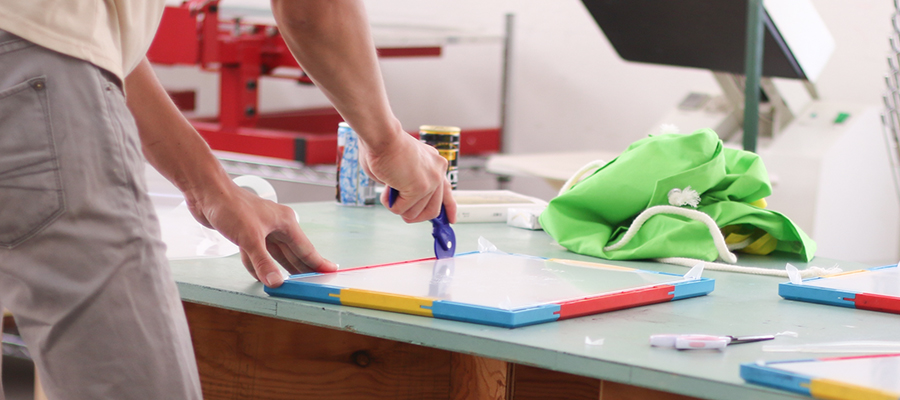
Stretch a screen onto SURIMACCA, using silicone rubber cords and roller.
How SURIMACCA Works
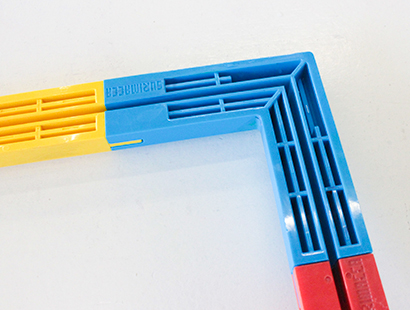
Just like a screen window
Sandwich the screen with rubber cords into the channel on SURIMACCA to get a clean, tight screen for printing. This is the same structure as a screen window.
Preparation

Cut rubber cord
Cut rubber cord into the length of desired frame size. Inserting two rubber cords on all sides will make the screen stay in place firmer as the second cord will work as a reinforcement.
Although it will make the screen tighter and stronger, it is not necessary to have two cords each on all four sides. Using two cords on only the short sides, or the long sides will hold the screen well too.
Cord Length Reference
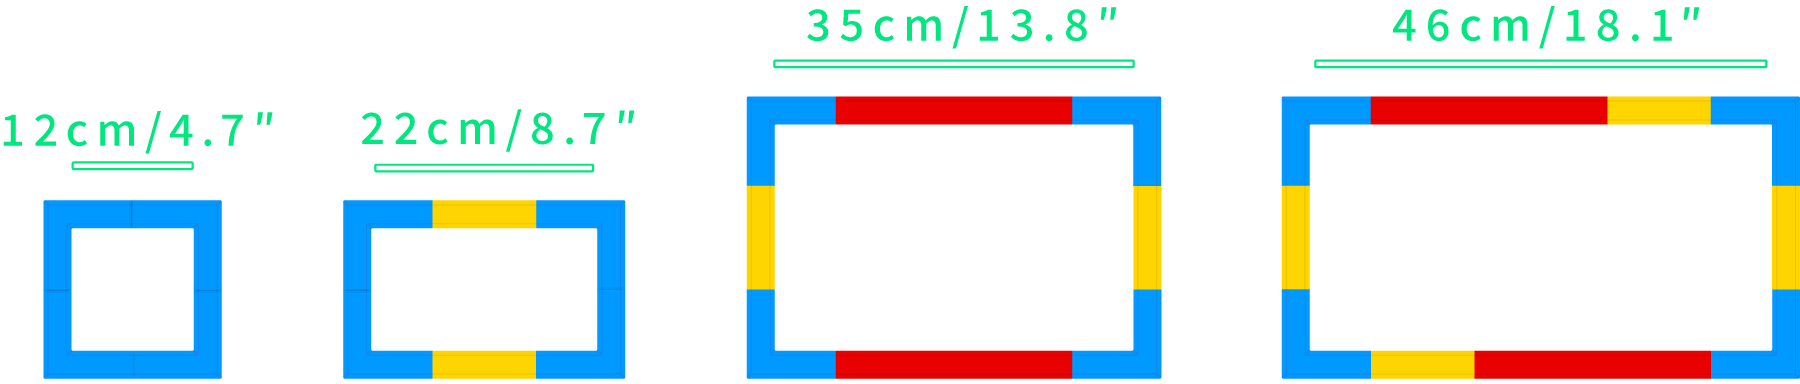
Stretch a Screen

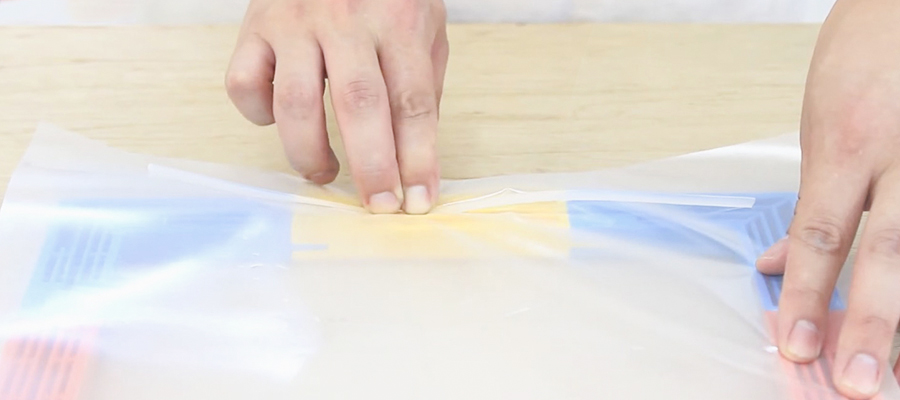
1Apply masking tape
To avoid ink from getting onto SURIMACCA or into the cavities on the backside, seal off the frame with masking tape before stretching the screen onto it. This will make your cleaning job much easier.
Additionally you can tape the gaps between the screen and SURIMACCA after you stretch the screen. There is no need to worry if you do not apply tape, as it will not affect the printing process.
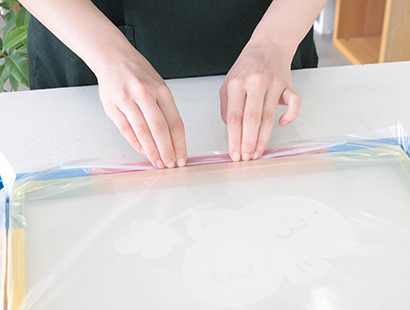
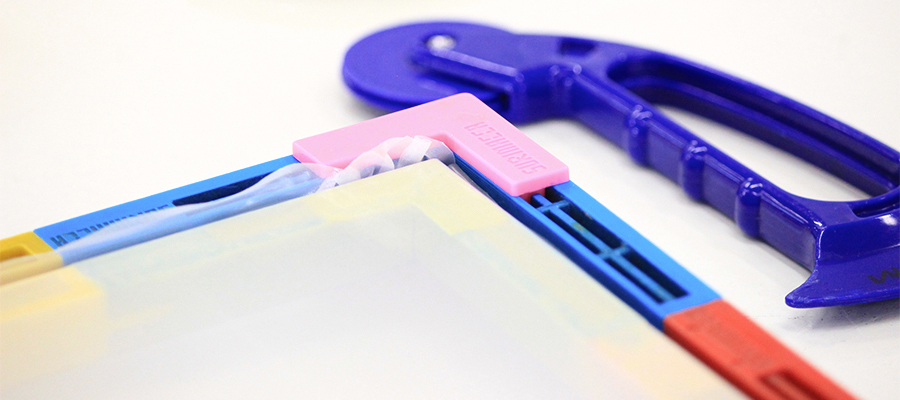
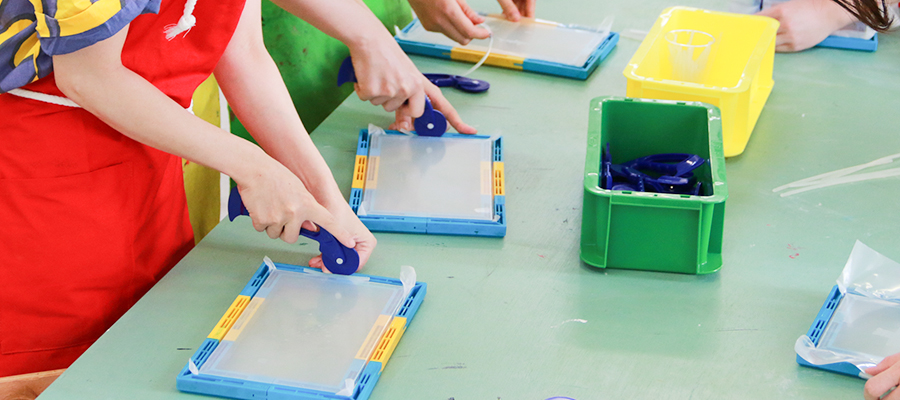
2Tuck cords in with fingers
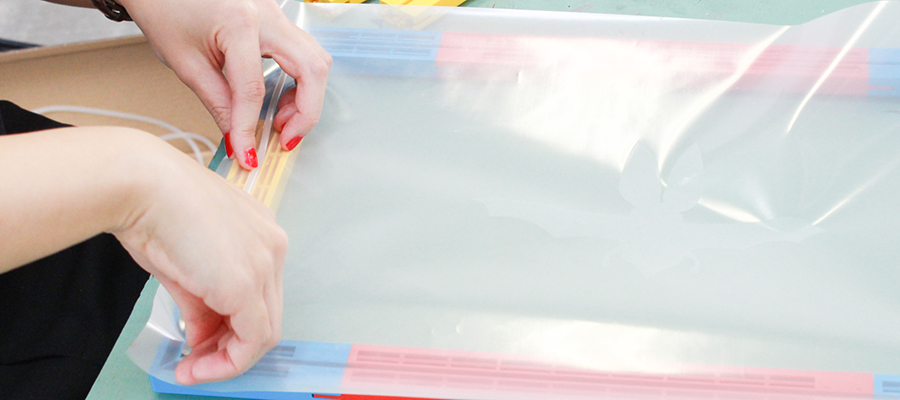
To hold the screen in place, tuck it into the channel with rubber cords using your fingers. Hold the opposite side of the screen’s center with one hand, so it doesn't move around, and with your other hand tuck in rubber cords.
Always insert from the center and work your way out towards the corners. Using your fingernails to push the cords in may be easier. Push the cords in as deep as possible, otherwise they will pop out when you tuck cords into the opposite side. You can also use the Spacers to do this if you find it easier.
Smooth side facing up
First, check that the SURIMACCA is facing you with the channel side up. Next, on top of it, place the screen with the smooth side facing up. Be careful of mistaking the side, or you will get a flipped image at the end.
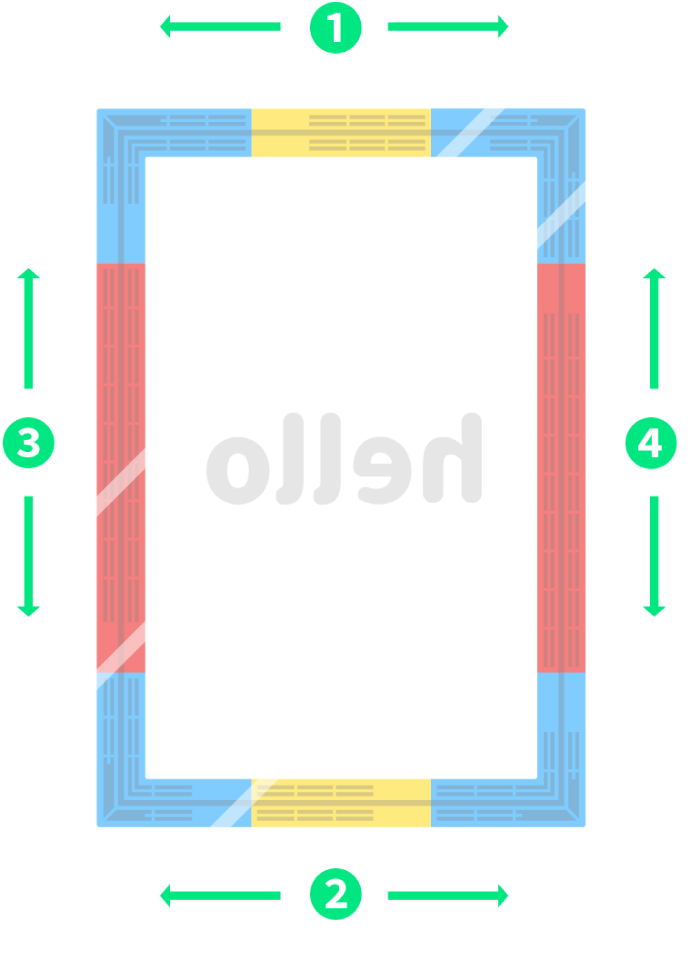
Insert cords in the right order
Insert rubber cords in the diagonal order, as shown on the left.
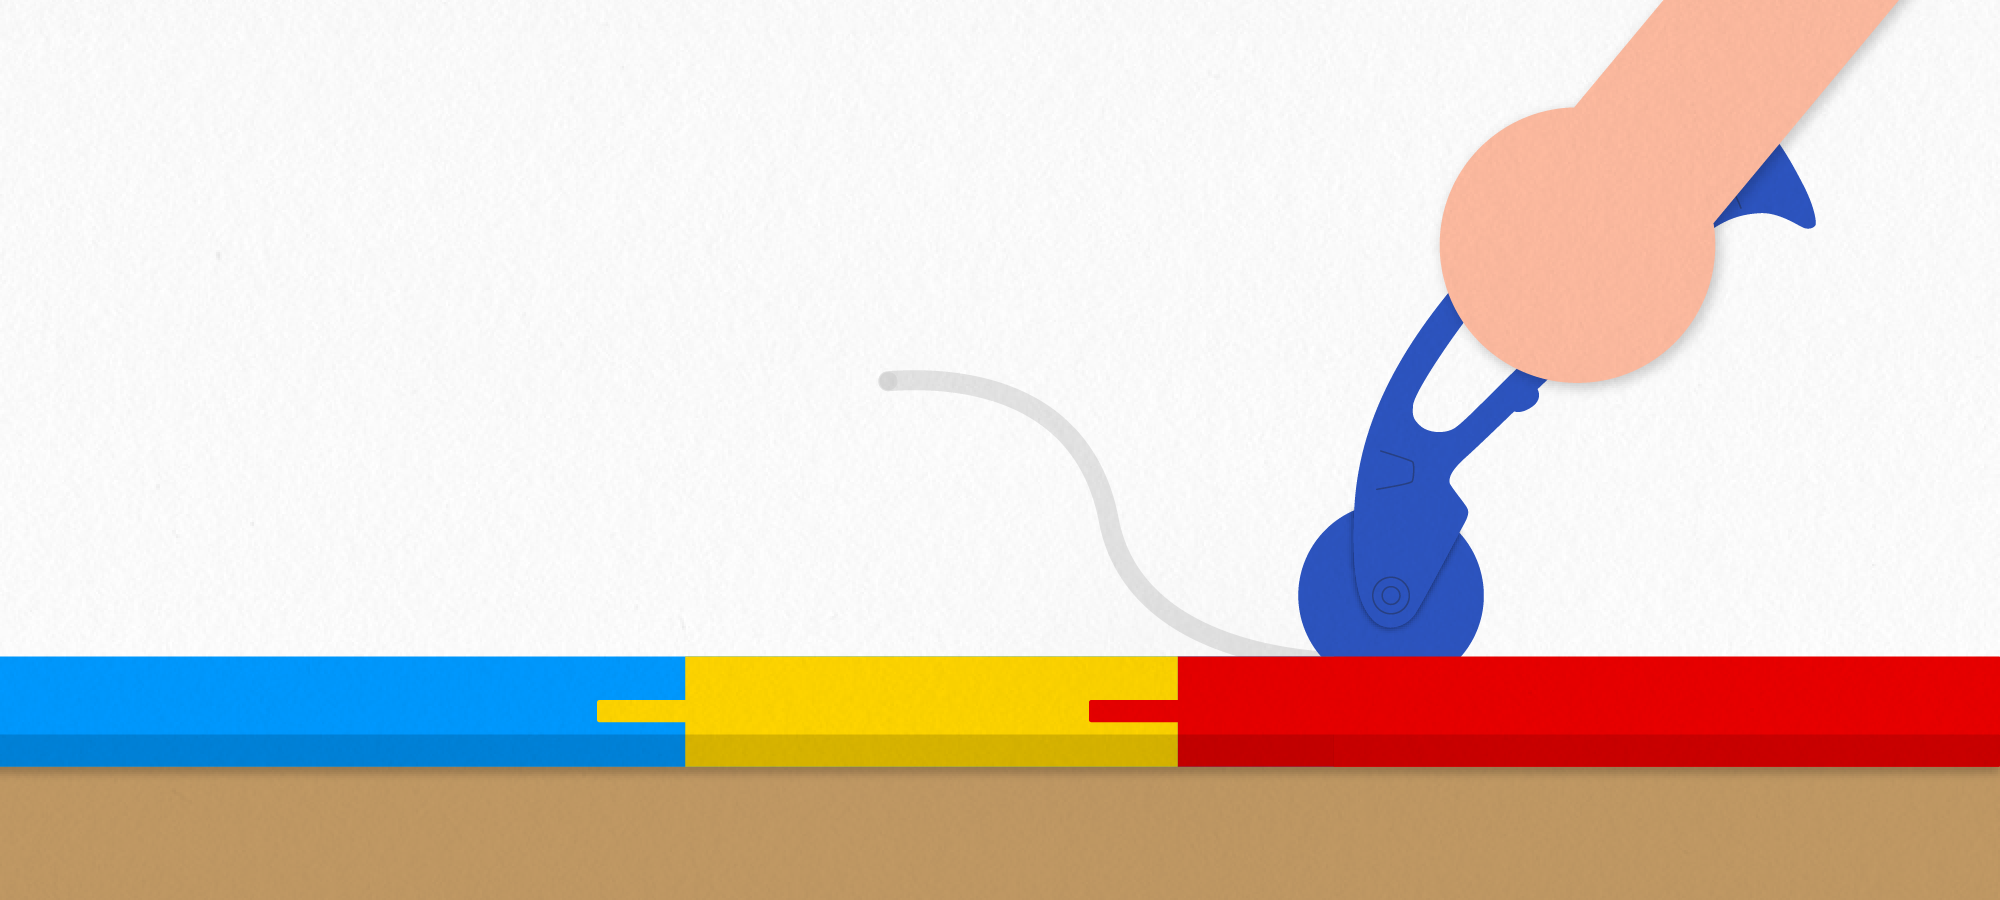
After tucking in with fingers, use the roller to push the cords to the bottom of the channel in about 3 rounds. Run from the center towards the corners to avoid wrinkles.
Be careful not to push cords in too deep with one stroke, as they may pop out from other sides, or distort the image on the screen. Try to insert the cords gradually, and evenly throughout all sides. insert the cords gradually, and evenly throughout all sides.

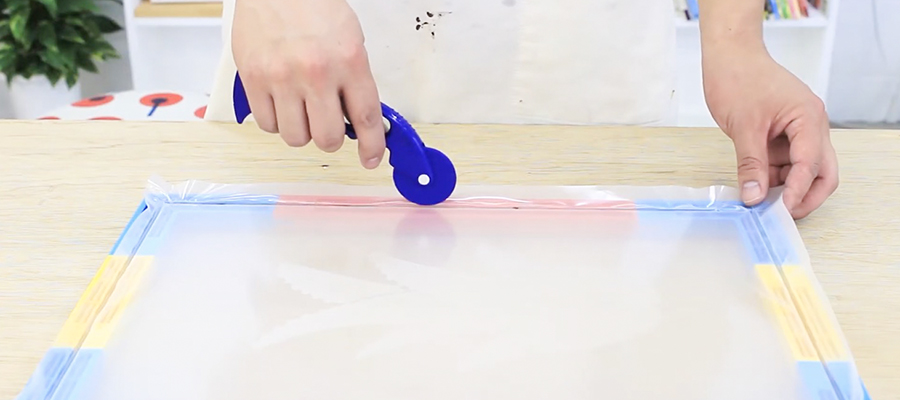
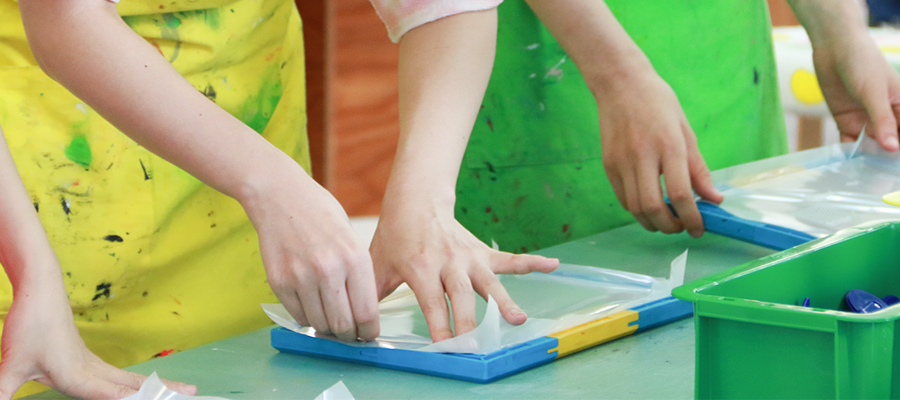
3Push in with a roller
1st Round / with minimum force
2nd Round / with further force
3rd Round / push down to the bottom
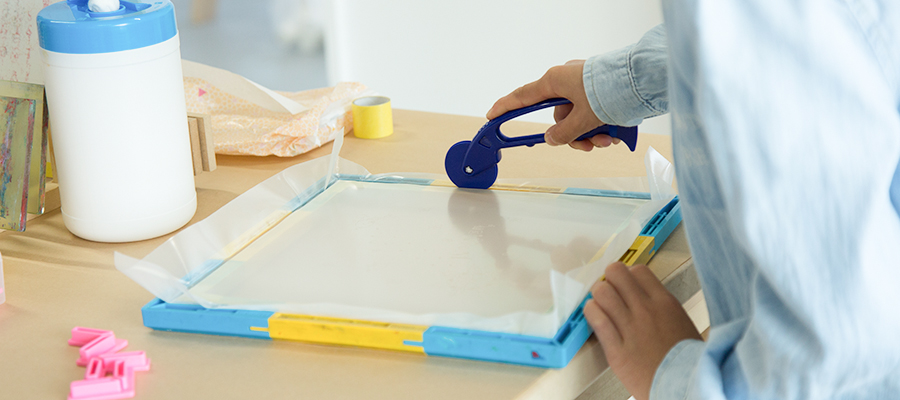
Once the cords on all sides are tucked in, use the roller to insert them all the way down the channel. To add screen tension evenly, work your way diagonally, rolling along one side a little and then the opposite side a little. Run the roller in about 3 rounds.
No problem if the edges of the screen get caught into the channel. We recommend using two rubber cords to hold the screen firmer, even though you can keep the screen in frame with one cord for each side.
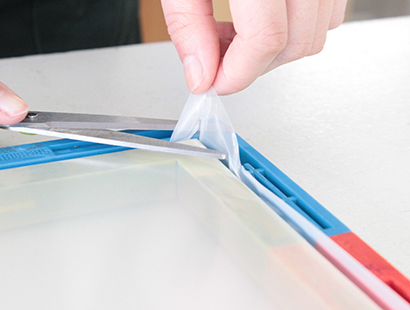
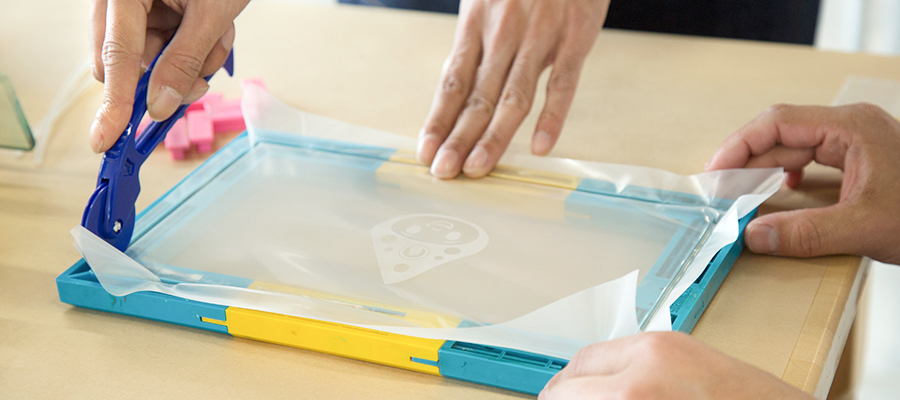
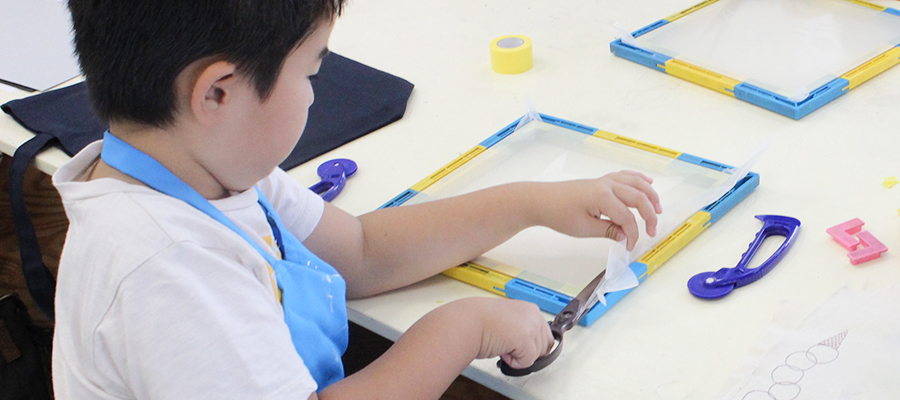
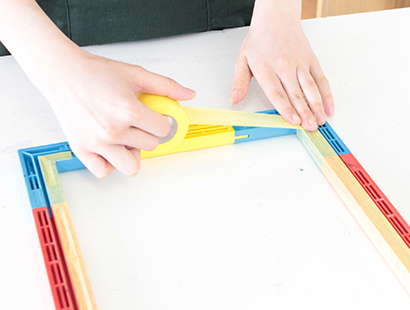
4Cut off excess screen
After inserting rubber cords into all four sides, cut off the screen that is sticking out from the channel. Be careful not to poke into the stretched screen or damage the frame while doing this.
If there is only a little bit of screen sticking out, you can simply tuck them into the channel as well.
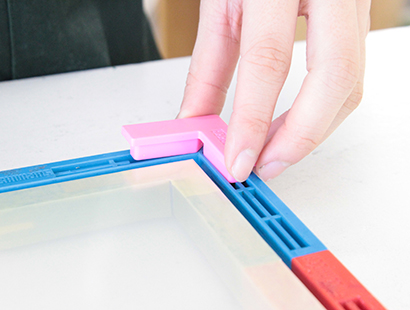
5Attach Spacers
Insert Spacers into the corners. You can print nicely by keeping a small distance between the screen and the material to be printed, so the ink can pass through well. When using a holder or printing table, attach Spacers only on the side without the mounting cramps on.
If you find the screen loosened while working, use the roller to push rubber cords down again to restore tension.
Watch Video

HOW TO SURIMACCA
“Stretch a Screen”
Introducing SURIMACCA related contents in the videos. Here is how to assemble and disassemble. Please take a look as your reference.
Watch on YouTube