HOW TO
Let it Dry
Learn how to let it dry after printing, using a hair dryer and an iron.
It is faster than letting it dry naturally and gives a clean finish.
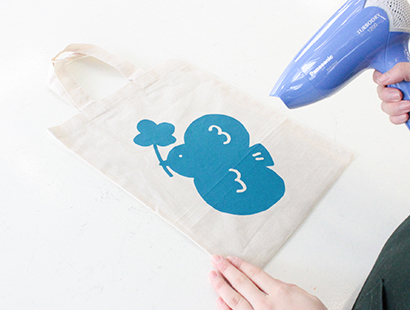
Hair Dryer
Let it dry with a hair dryer
Use a hair dryer in a warm setting when you want to let it dry quickly. Please note that even when the surface is dry, the inside may not be completely dry.
When printing with multiple colors, let the printed ink dry using a hair dryer before the next layer of ink is applied.
Ironing

Ironing give the prints a clean finish
Even if the surface is dry, the inside may not be completely dry when it’s dried naturally or with a hair dryer. Ironing can let it dry completely from the inside.
The surface can be flattened by ironing as well. For metallic inks such as Gold, Silver, and Copper, ironing will make them sparkle a little more and give them a brighter finish. If you have time, ironing is recommended.
1Dry the surface well
Dry the surface until there is no ink on your hands when you touch them, before applying the iron. (Using a hair dryer makes it faster.)
If the surface is not completely dry when ironing, the ink may drag and stain, or lumps may form.
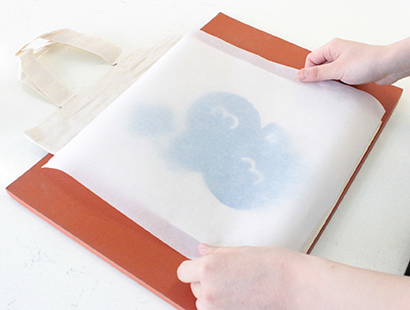
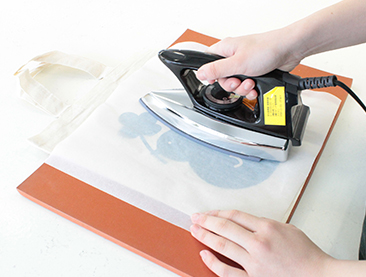
2Place parchment paper on top
Put a piece of parchment paper on top of the printed area to avoid direct contact with the iron. We don't recommend using press cloths for this, as they might stick onto ink.
3Iron slowly with a pressure
Gently apply pressure to the entire printed area from above. Adjust the temperature of the iron according to the material.
*Do not use steam.
Watch Video

HOW TO SURIMACCA
“Let it Dry”
Introducing SURIMACCA related contents in the videos. Here is how to let it dry. Please take a look as your reference.
Watch on YouTube